Set up Google Service
Set up Google Service Account
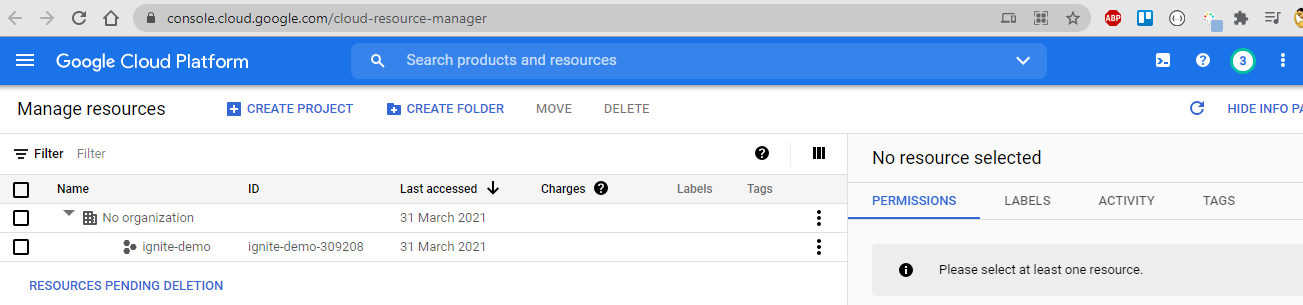
Go to Google Console and sign in to your Google account. Once signed in, you'll see a list of existing projects (if there are any) or you can click Create Project to create a new one.
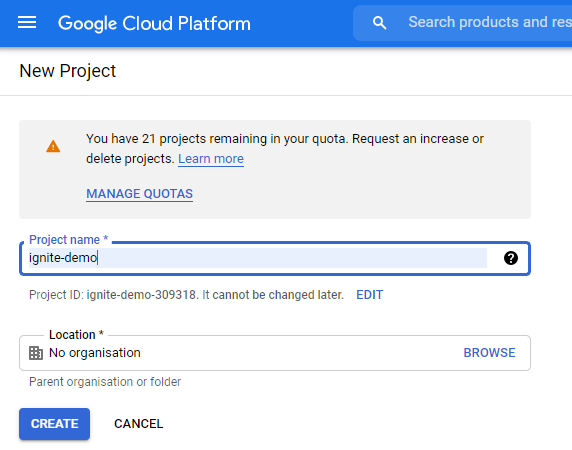
On the New Project page, enter a name for your project, select an organization and then click Create.
Enable the Sheet's API
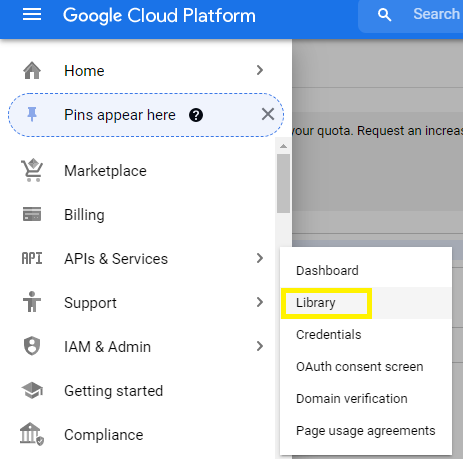
Make sure your project is still selected as the current project. From the navigation menu, select Library under APIs & Services option.
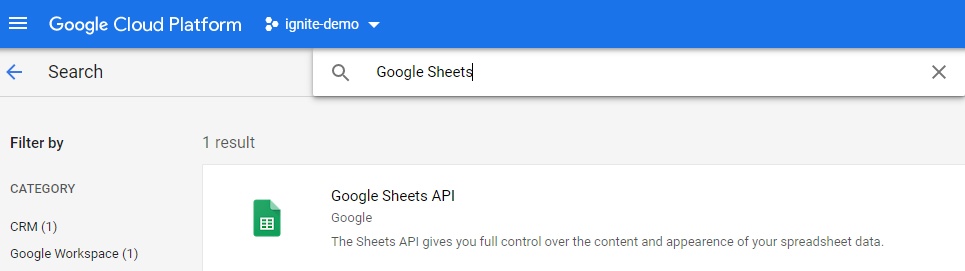
Search for Google Sheets and click the API tile.
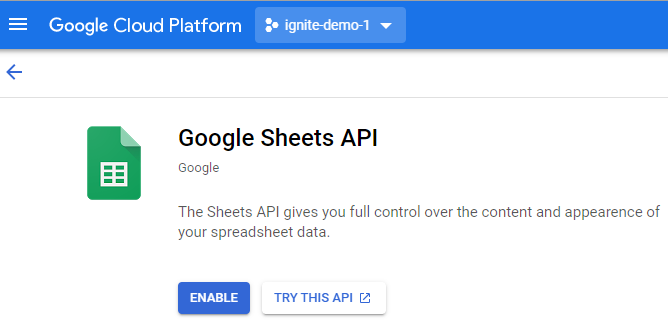
Click Enable.
Enable the Drive's API
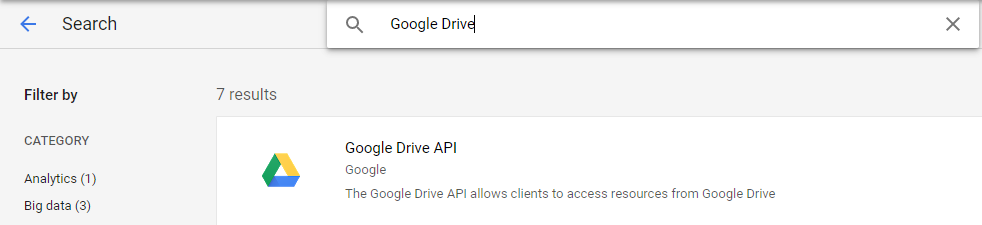
Do the same thing to enable the Google Drive API. Search for Google Drive and click the API tile.
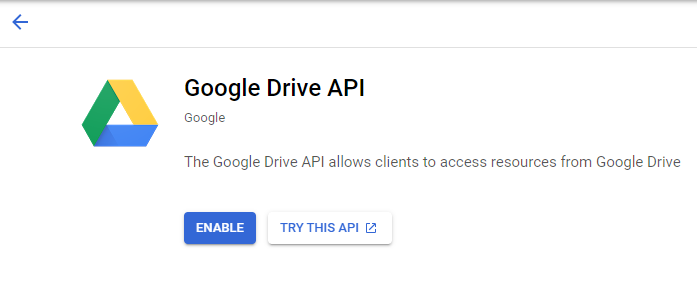
Click Enable.
Download Service Account Credentials
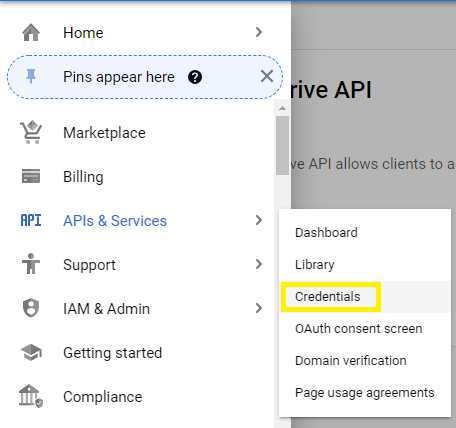
Now we will create credentials that we will download as a JSON file and later add to the Google sheets node to configure it. To create credentials, from the navigation menu, select Credentials under APIs and Services.
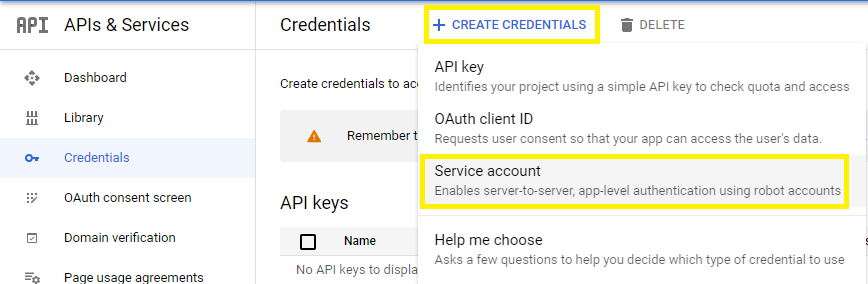
On the Credentials page, click Create Credentials and select the Service Account option.
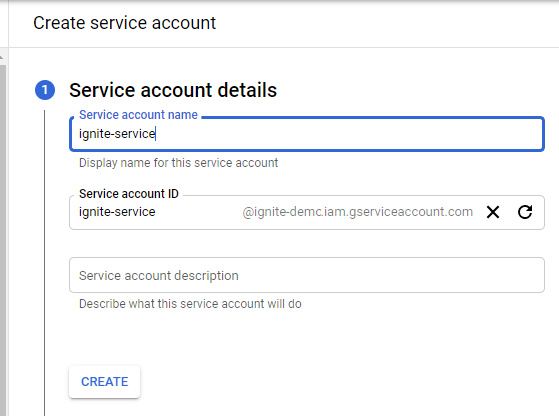
Set the Service account dropdown to New Service Account and click Create.
Select the Role for your Service Account.
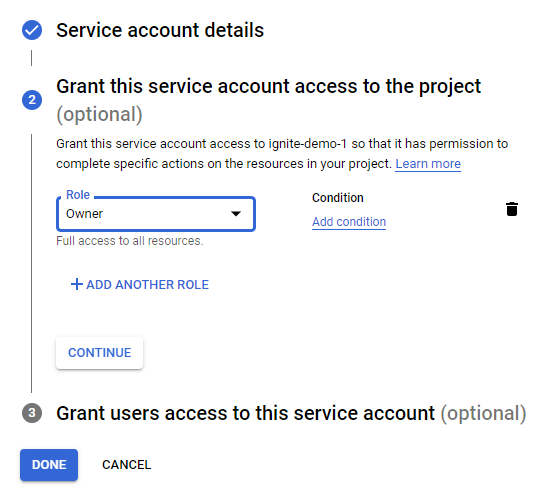
Click Done to create credentials. Select Service Account from the list.
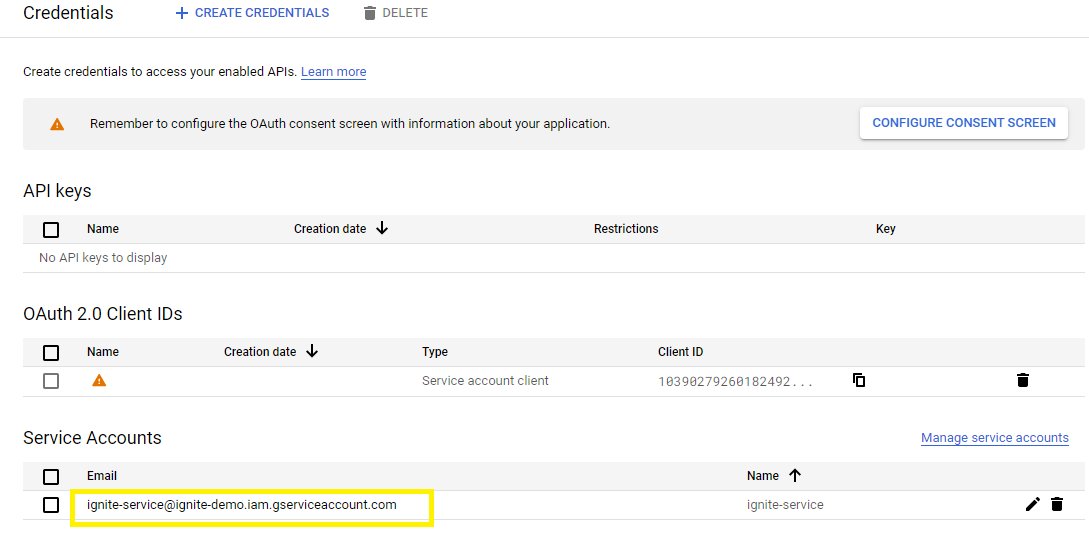
Save Service Account Email
Select Details tab and copy the email address.
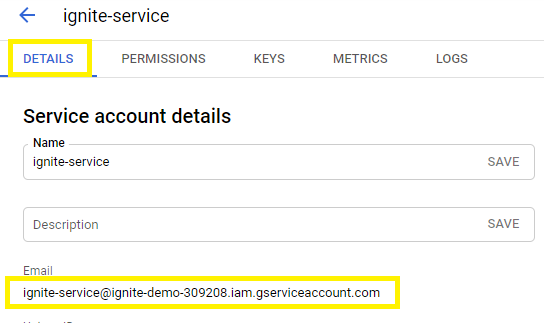
This information will be used to Share Sheet With Email.
Save Credential File
Select Keys tab and click on Add Key
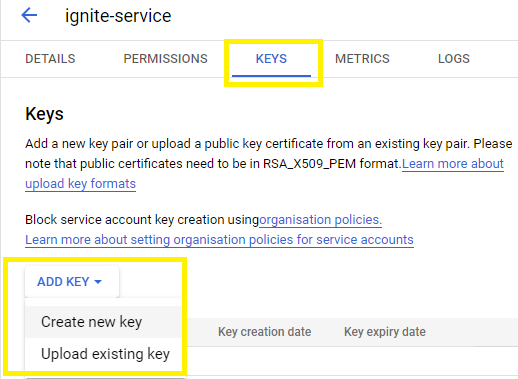
Select JSON key type and click on Create

A key file of josn type will be download to your system.
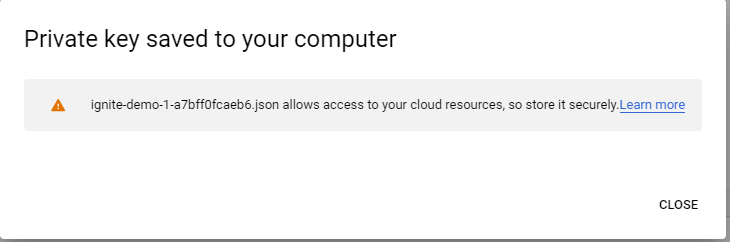
Now open the downloaded JSON file and copy all information from the file. This information will be used to Set up Google Sheet Connector.
Set up Google Sheet
Open Google Sheet
Open Google Drive and create a new Google Sheets from Google Drive.
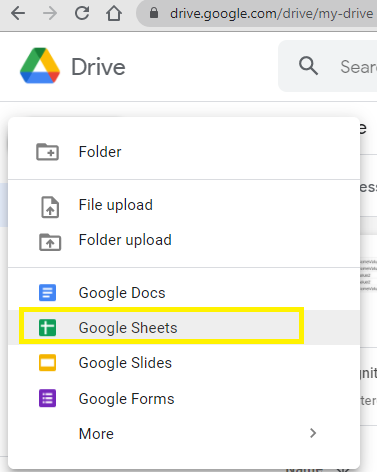
You can also open existing Google Sheet.
Share Sheet With Email
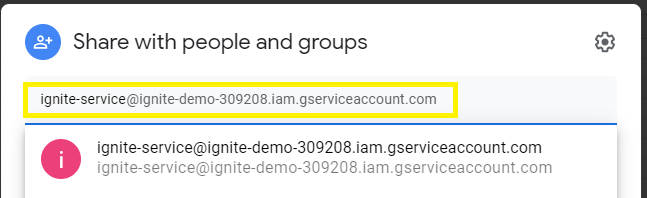
Click on the Share button in the upper right corner. In the people field put in the email address that you copied from Save Service Account Email and click on Done.
Copy ID Part From Sheet
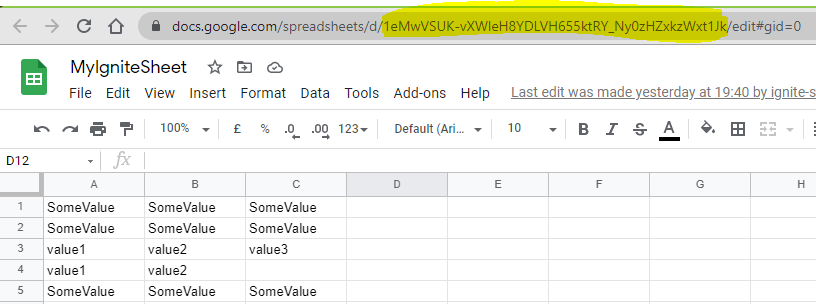
Take the ID part from the https link of the spreadsheet. The sheet ID can be found in the URL of your google sheet, for example in https://docs.google.com/spreadsheets/d/1eMwVSUK-vXWleH8YDLVH655ktRY_Ny0zHZxkzWxt1Jk/edit#gid=0. The ID would be 1eMwVSUK-vXWleH8YDLVH655ktRY_Ny0zHZxkzWxt1Jk.
This information will be used to Set up Google Sheet Connector.
Using the Google Sheet Connector
Prerequisite
Usage
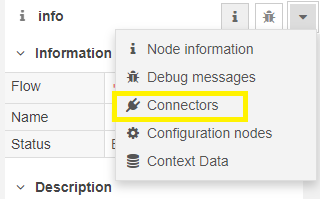
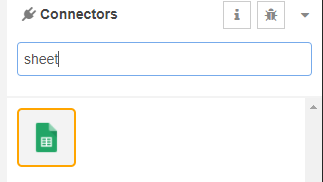
Open Connectors library from right menu.
Filter Google Sheet from search menu
Import the Get Action
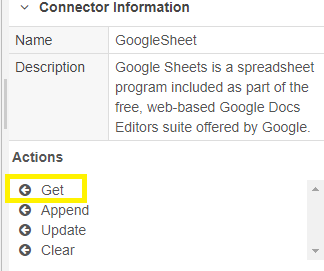
Double click on Google Sheet Connector to open the properties menu.
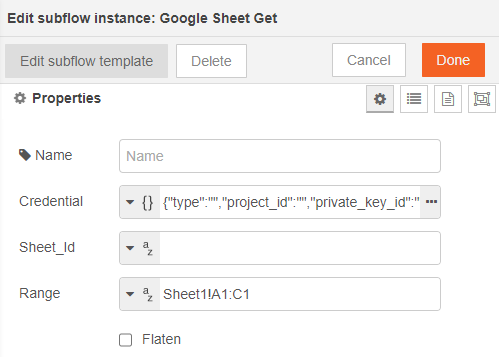
Set-up Google Sheet Connector Properties
Provide the credential from Save Credential File
Provide Sheet_Id from Copy ID Part from Sheet
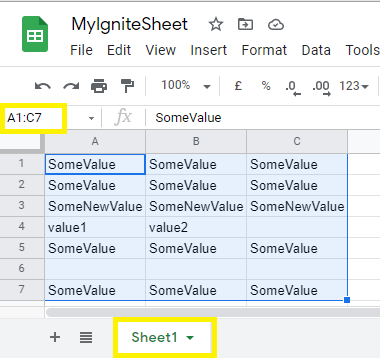
Provide the Range that you want to cover from the sheet in the format “Sheet1!A1:C1”, where Sheet1 is the name of sheet within your Google Sheet.
In our example sheet “Sheet1” is the name of sheet and you can select the cells to get the range details.
After fill the properties, associate the Google Sheet Get sub-flow with inject and debug node.

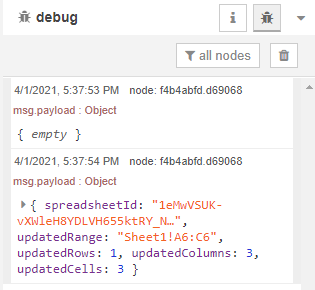
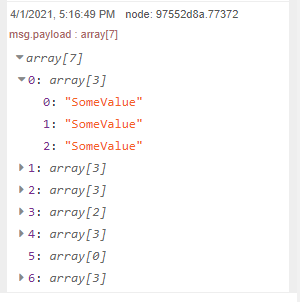
Deploy the changes and then inject message from “Inject” node. You will get result.
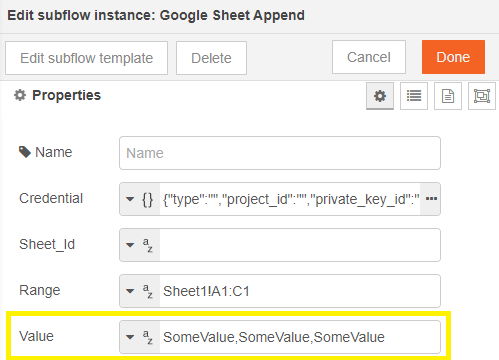
Similarly, you can setup the other actions like “Append”, ”Update” and “Clear”. For Update and Append you have to pass the comma separated values in the “Value” property.
Deploy the changes and then inject message from “Inject” node. You will get result.