
Introduction
Hello World! Have you also been captivated by the remarkable seamlessness that connectors bring to the table? Well, let's delve into the realm of crafting connectors within the Ignite environment.
We will be integrating with Alloy today.
Alloy API Reference
Alloy stands as a pioneering platform that redefines identity verification and risk management. With an unwavering focus on security and innovation, Alloy empowers businesses to seamlessly verify identities, detect fraud, and make informed decisions. Leveraging cutting-edge technology, Alloy offers a comprehensive suite of tools that enable enterprises to streamline onboarding processes, enhance customer experiences, and mitigate potential risks. By amalgamating sophisticated data analytics, intuitive workflows, robust evaluations, and intricate entity recognition, Alloy transforms the landscape of identity verification, safeguarding businesses and customers alike in an interconnected digital world.
Let's look at the API reference provided by Alloy.
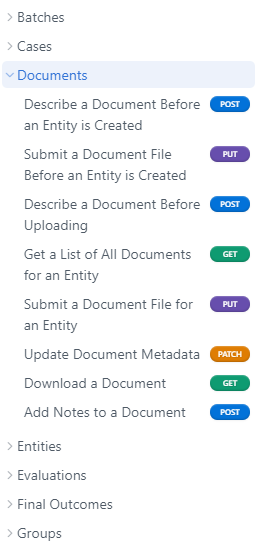
In the image below, we can see all the api definitions provided by Alloy. To access any of these APIs, we will need an authentication method. For the same, lets look at the authentication guide for Alloy.
The authentication guide mentions various authentication methods.
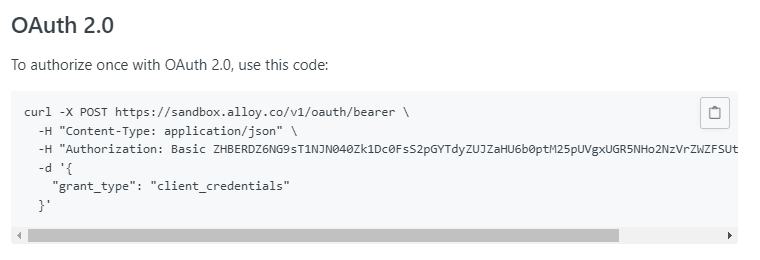
For clarity and ease of use, let's first try to access the auth token using postman.
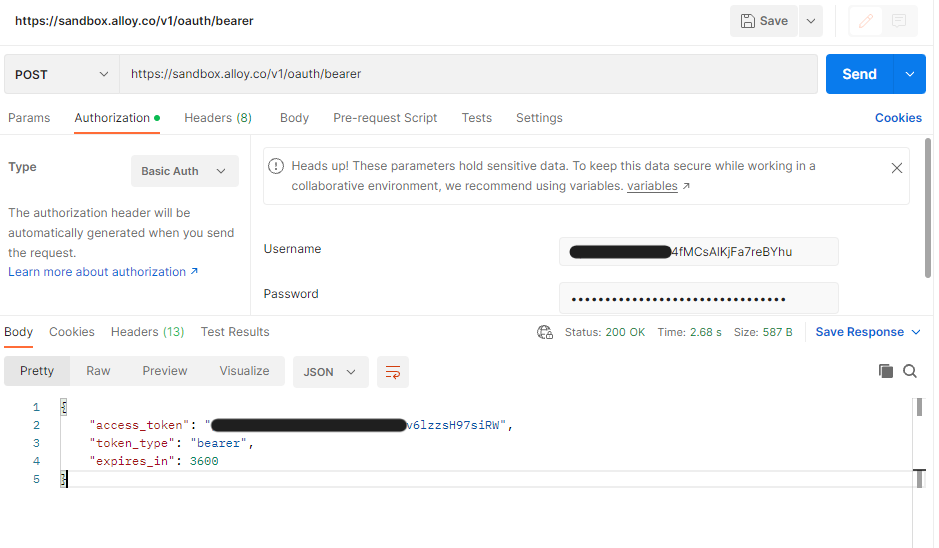
We need to provide our username and password in auth headers and the success response of api will return an access token.
Let's Start
It's time to dive into the editor and start to create a connector.
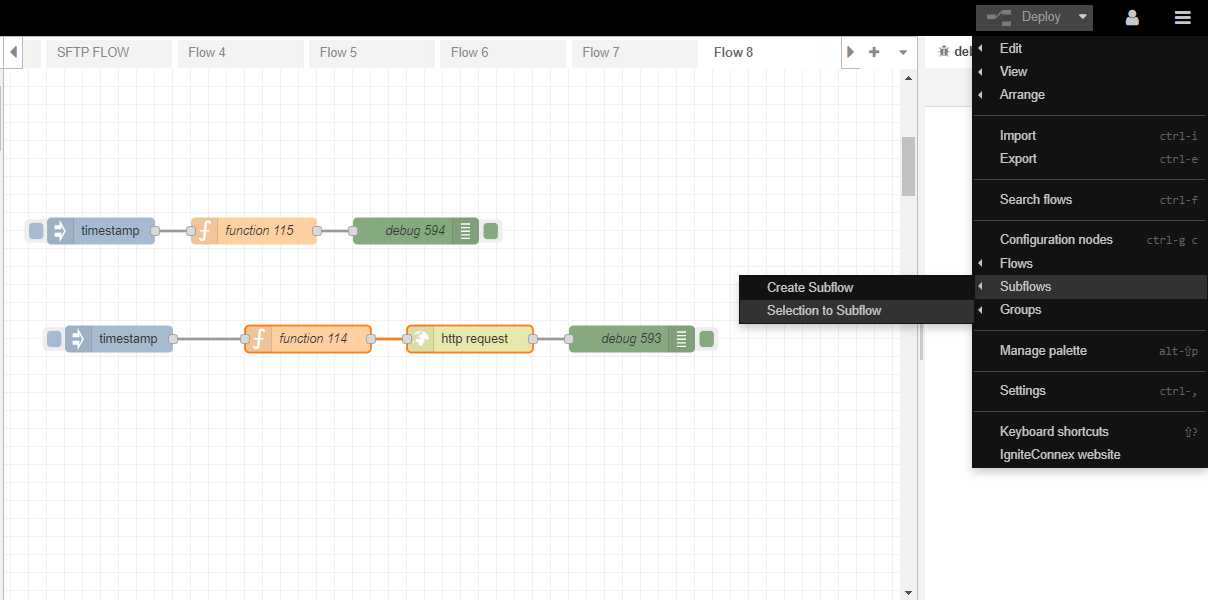
We will be using a function node and an http request node for this case. The first step is to create this http request in the editor.

Now, you need to select the function node and the http request node, click on 'selection to subflow'. The subflow will be created.

It's time to add properties to this connector and make it generic. Let's figure out all the properties we need to get from the user.
- Username
- Password
- Base URL

Since all the above can be different based on different businesses, we cannot hard-code any of these values inside the subflow. We will now pick these values from the user inputs. These can be picked using env of the subflow.
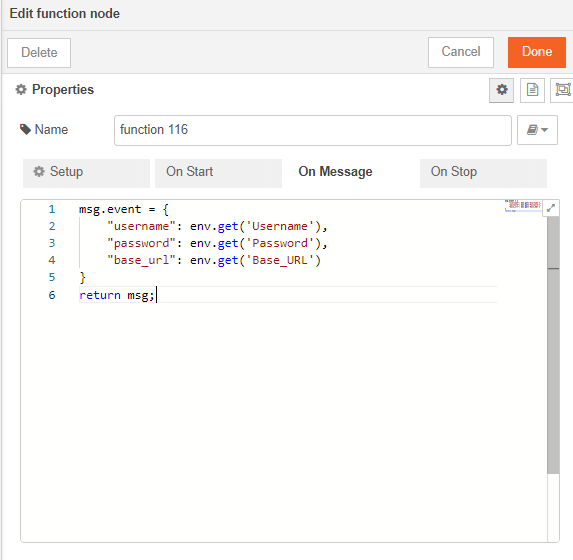
Note: The parameters of the env.get function are case-sensitive.
Let's also add override properties to this connector. Override properties are useful when the user wants to supply inputs to connector through msg object and not input fields.
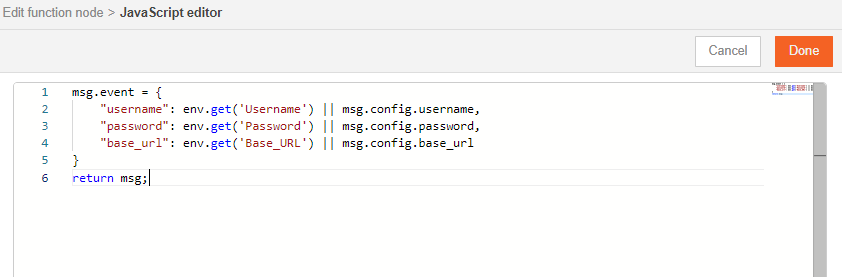
Now we will modify our api call to use these values,

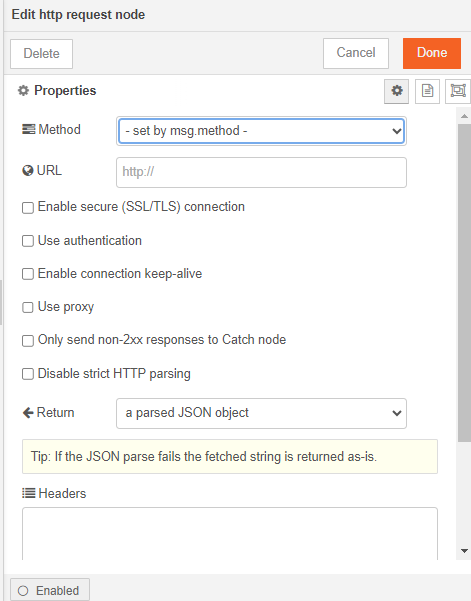
Make sure to configure the http request node to pick method and url from the msg object.
Adding Documentation to Connector Action
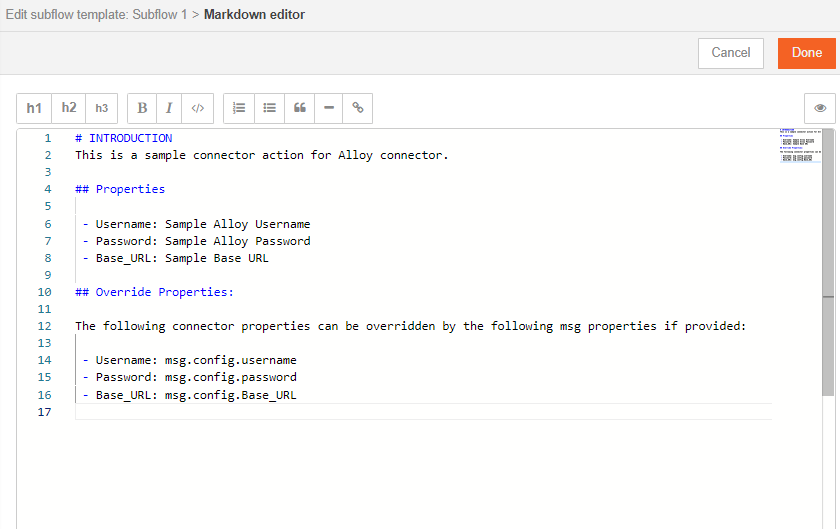
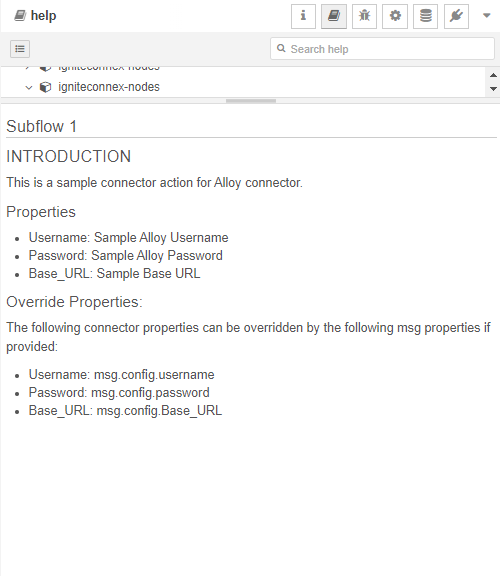
Now let's add documentation to our connector action.
Click on edit properties, and navigate to description tab.
This is a markdown editor which accepts markdown text.
Click done and deploy.
Click on the subflow and in the doc section, you will be able to see your brand new doc.
Branding the Connector Action
Let's change the look of this connector now. Double click on the subflow and click edit properties >> Appearance
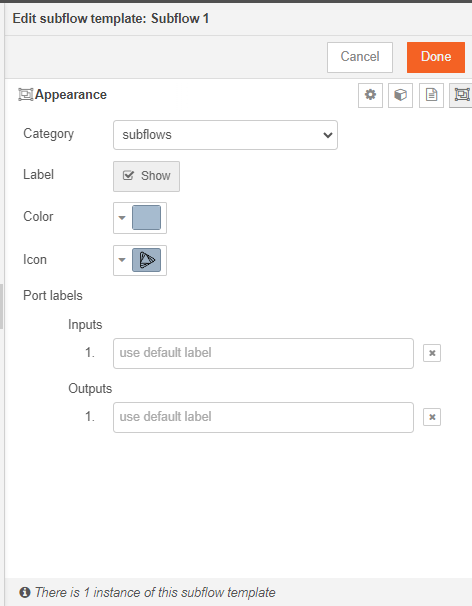
Make any required changes and deploy.
Conclusion
Congratulations. You have successfully created a connector action for alloy.
Similarly you can create more connector actions.
Stay tuned for more Igniteconnex Tutorials.