
Introduction
In this blog post, we'll delve into the world of data integration using the powerful Snowflake connectors on the IgniteConnex platform. We'll guide you through setting up three essential Snowflake connectors: Snowflake Client Config Connector, Snowflake: Execute Query Connector, and Snowflake: Bulk Insert Connector. By the end of this guide, you'll have the expertise to seamlessly connect, query, and insert data into Snowflake using IgniteConnex.
Prerequisites
Before we start, ensure you have the following prerequisites:
- Access to the IgniteConnex platform.
- A Snowflake account with necessary credentials (account URL, username, password).
- Basic familiarity with SQL and data warehousing concepts.
Section 1: Setting Up Snowflake Client Config Connector
Step 1: Access the IgniteConnex Platform
- Log in to your IgniteConnex account.
- Navigate to the Connectors section and locate the Snowflake Client Config Connector and import the connector.
Step 2: Configuration
Fill in the required configuration parameters.
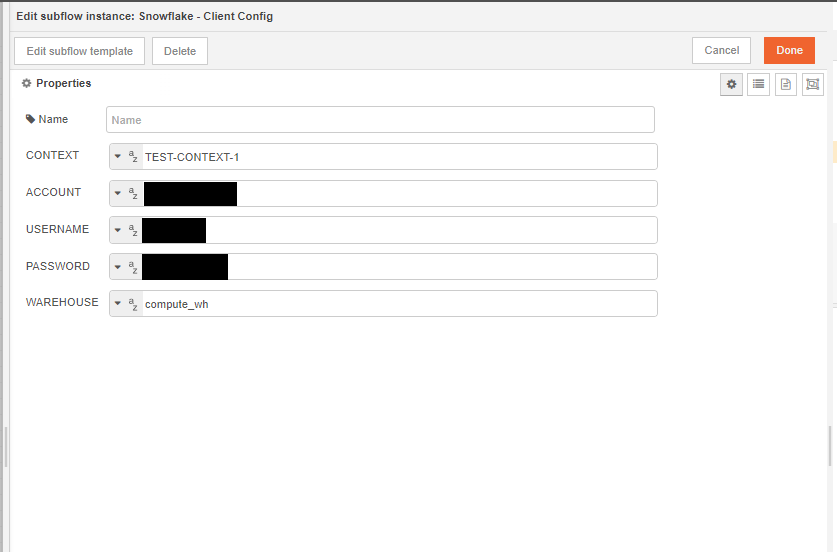
Make sure to fill in the details correctly; these details of your Snowflake account are used to configure the connection. You can find the account name on the bottom left corner of your Snowflake Portal.
Note: Context is the unique identifier for the Snowflake connection. Multiple Connections are uniquely identified through their context.
Note : Account config is in the format of "Org-Account", and can be easily fetched from the snowflake portal.
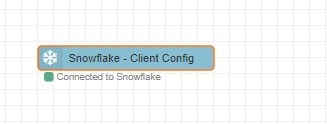
Step 3: Establish Connection
- Save the configuration and establish the connection by hitting that deploy button.
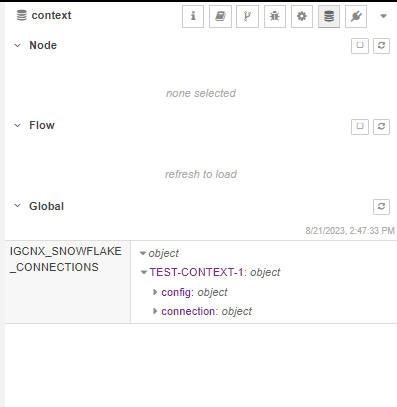
- Your Connection details are cached in the global storage; you can view and verify the connection details of your Snowflake Account there.
Section 2: Utilizing Snowflake: Execute Query Connector
Phew!! We have successfully configured the snowflake connection; next, we will be using the Execute Query Connector to execute queries in Snowflake through the IgniteConnex Editor.
Step 1: Locate the Connector
- Import the Snowflake - Execute Query Connector.
Step 2: Configuration
Provide the necessary details:
Context: The connection context created earlier.
Query: Enter the SQL query you want to execute.
Binds_Path: Specify the path to your binds (e.g.,
msg.data).Output: Choose 'bulk' or 'stream' for the output mode.
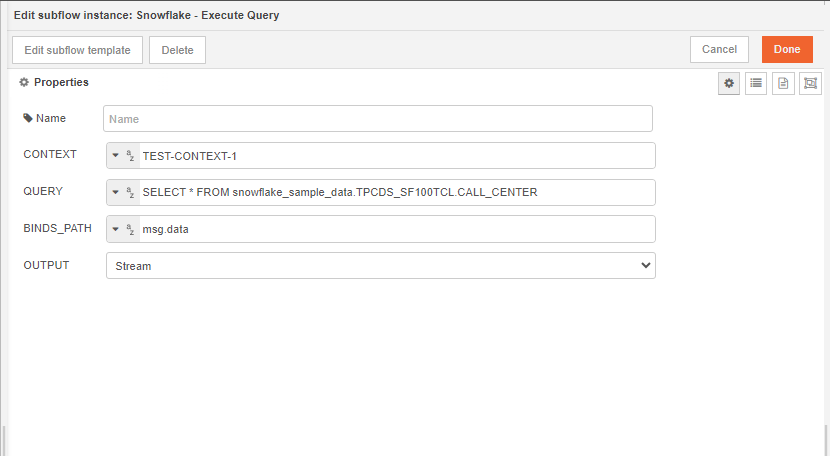
Bulk: If the queried data output should be in one single object
Stream: If the queried data output should be in a stream of events (w.r.t rows)
Step 3: Executing Queries
- Configure the connector to execute queries using the provided settings.
- Utilize
msg.configto pass parameters and override properties. - Binds can be passed in
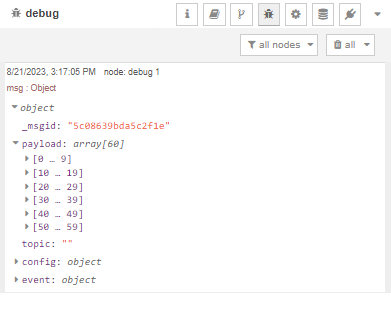
msg.datato utilize the feature of binds. - After executing the query, you can see the fetched results in the debug panel.
Section 3: Performing Bulk Inserts with Snowflake: Bulk Insert Connector
Since we have now learned about establishing connection to Snowflake and executing queries on Snowflake through our IgniteConnex, we will now utilize the functionalities of the Snowflake - Bulk Insert Connector.
Step 1: Locate the Connector
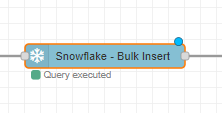
- In IgniteConnex, locate the Snowflake: Bulk Insert Connector and import it to your IgniteConnex Editor.
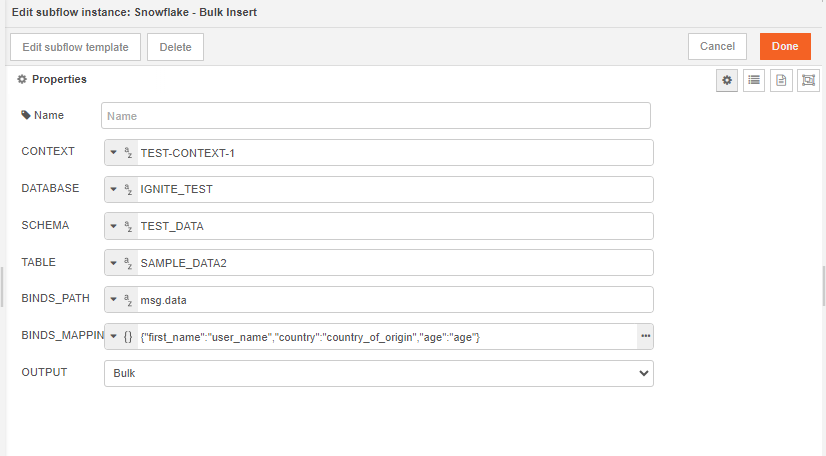
Step 2: Configuration
- Enter the configuration details:
- Context: The connection context created earlier.
- Database: Specify the target database.
- Schema: Define the target schema.
- Table: Choose the target table.
- Binds_Path: Provide the path to your binds (e.g.,
msg.data). - Binds_Mapping: Map placeholders to data properties.
- Output: Choose 'bulk' or 'stream' for the output mode.
Step 3: Bulk Insertions
- Configure the connector for bulk insertions based on your requirements.
- Use
msg.configto customize your insertion process. - Binds should be defined in
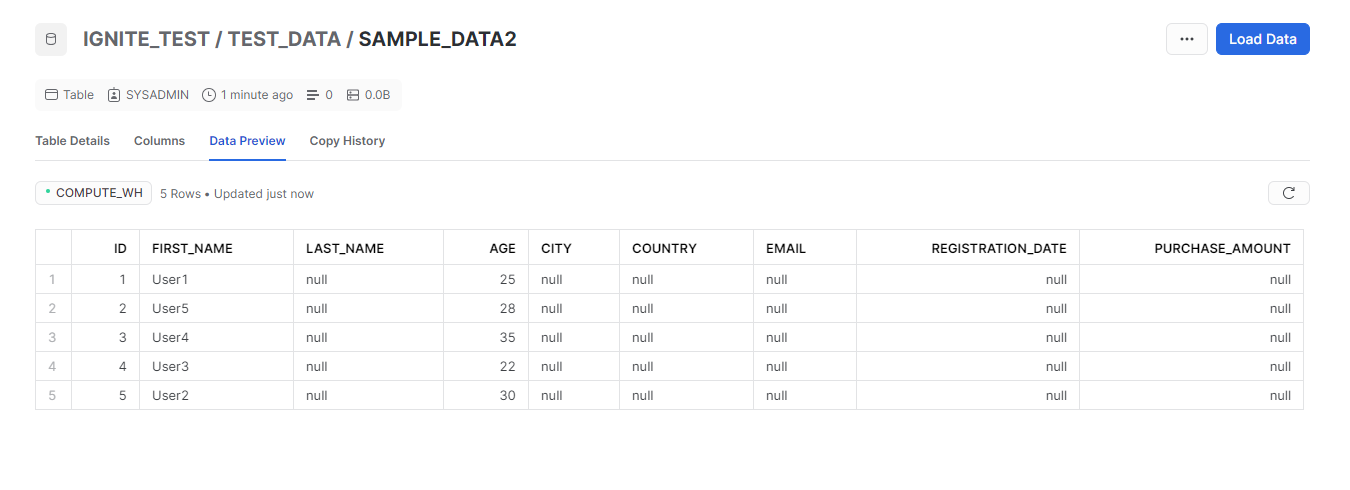
msg.data, which should be an array of objects. - Cross check with your Snowflake database that the data is successfully inserted and is being reflected there.
Advanced Use Cases and Insights
You can try these connectors build flows for some real time
- Real-time Analytics: Leverage Execute Query Connector with 'stream' output for real-time data analysis.
- Data Migration: Utilize Bulk Insert Connector for large-scale data migrations.
- Data Enrichment: Combine Execute Query and Bulk Insert Connectors for enriching data with external sources.
Conclusion
By following this comprehensive guide, you've successfully harnessed the power of Snowflake connectors on IgniteConnex. From setting up connections to executing queries and bulk insertions, you've gained the expertise to seamlessly integrate Snowflake into your data workflows. The connectors' flexibility allows you to explore a wide range of use cases, from real-time analytics to data migrations. With IgniteConnex and Snow