Introduction
Welcome to the realm of connector development!
Connectors are vital for improving efficiency in various processes. In this study, we'll explore how to create connectors in the Ignite environment, specifically focusing on making a subflow. In this subflow, we'll use two numeric input values, and the final result will be the product of these two variables, demonstrating how connectors can enhance operational results.
What is a Subflow?
Subflow is a way to encapsulate and reuse a group of nodes within a flow. It allows you to create a custom set of nodes and logic and then use that set as a single node within your flows. Subflows are particularly useful when you have a sequence of nodes that you want to use in multiple places in your flows or when you want to modularize and organize your flows for better maintainability.
Certainly, let's outline the creation of a subflow:
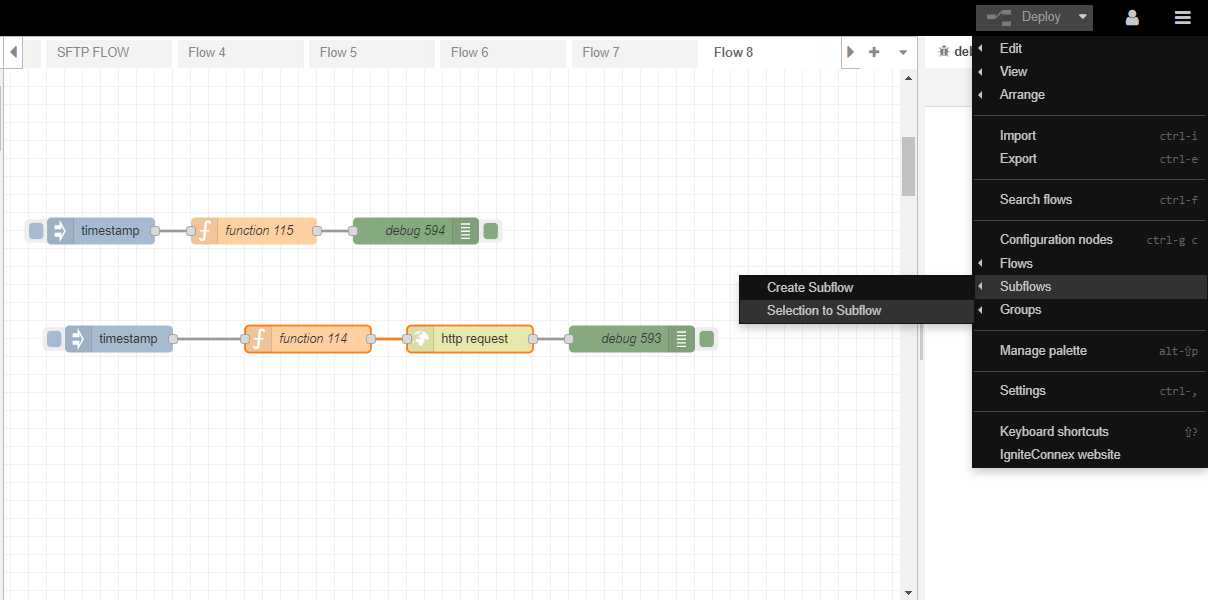
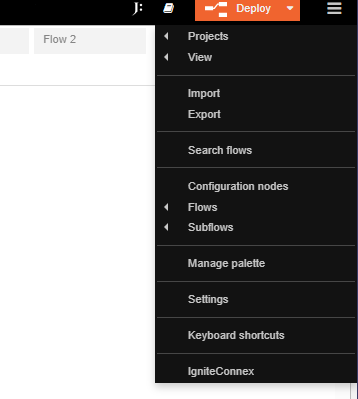
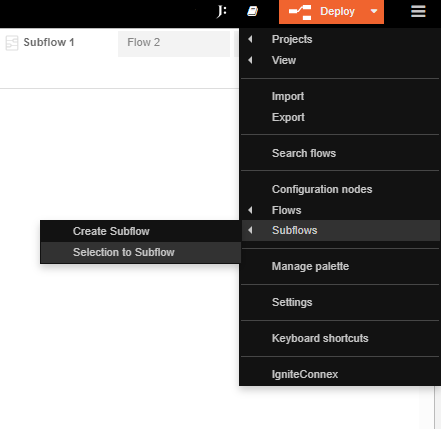
Step 1: Create a Subflow
To initiate the subflow creation process, kindly access the Hamburger menu and subsequently select the "Create subflow" option within the Subflow section.
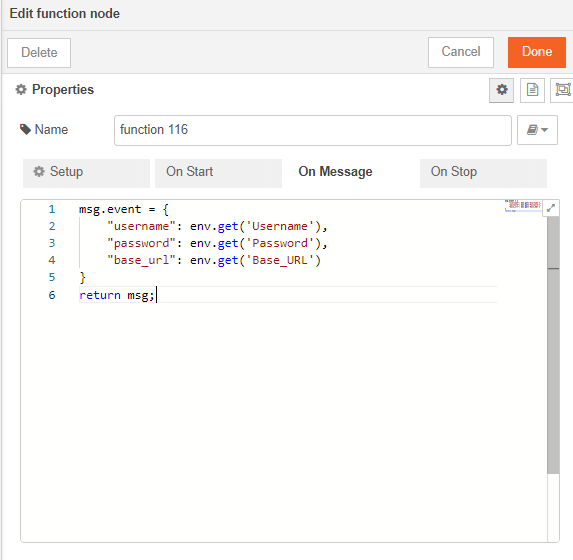
Step 2: Input Node Configuration
Begin by setting up your input node. This involves adding two environment variables and assigning a value to each of them.
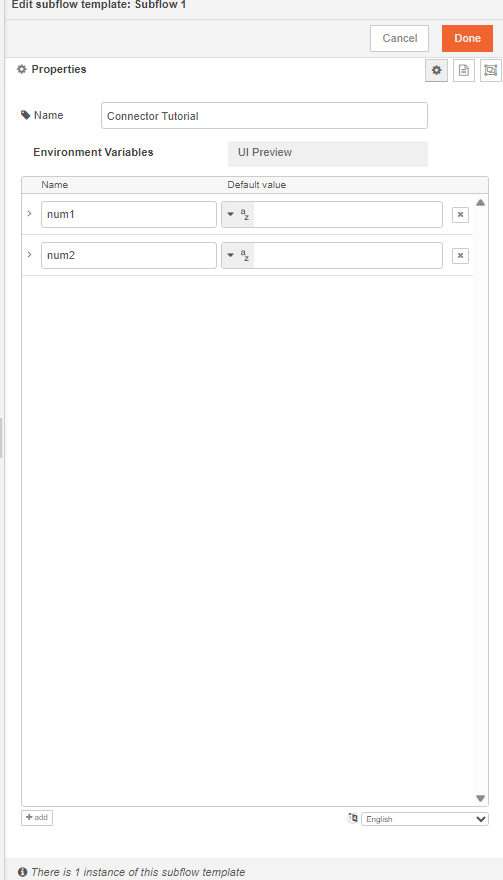
we should not hard-code any of these values inside the subflow. We will now pick these values from the user inputs. These can be picked using env of the subflow.
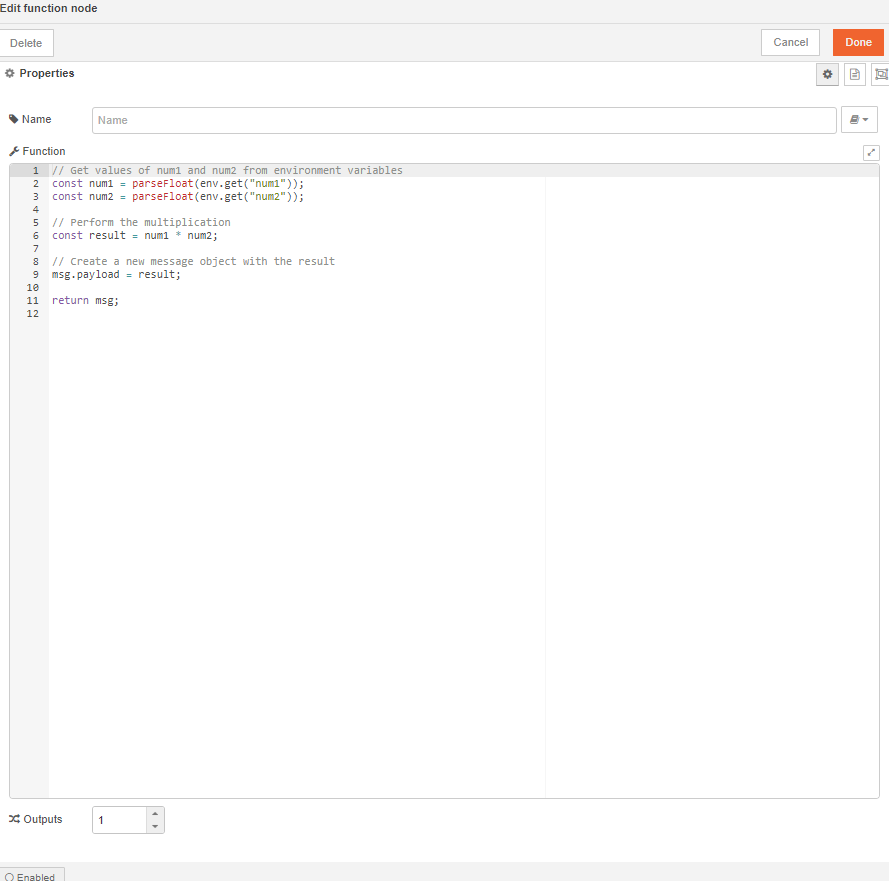
Note: The parameters of the env.get function are case-sensitive.
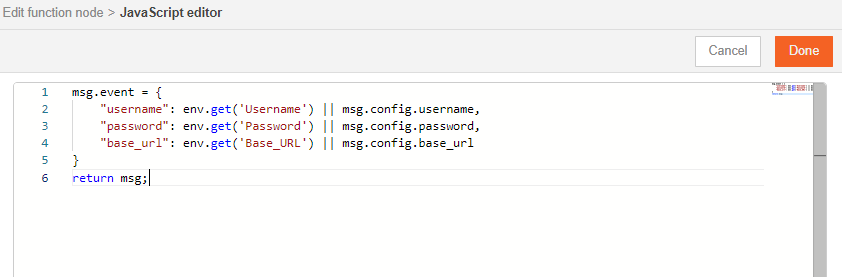
Let's also add override properties to this connector. Override properties are useful when the user wants to supply inputs to connector through msg object and not input fields.
msg.event={

"num1": env.get('num1') || msg.config.num1;

"num2": env.get('num2') || msg.config.num2;

}
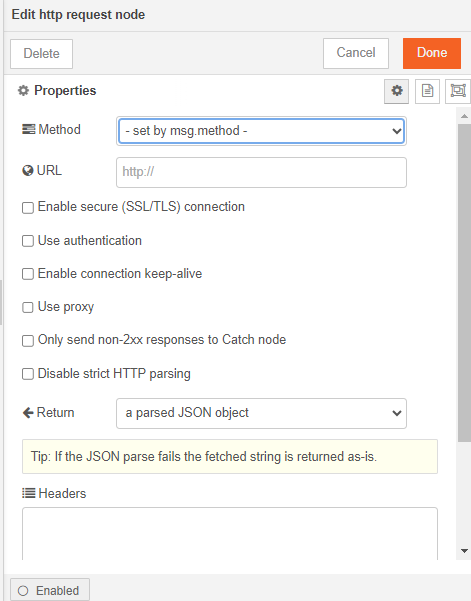
Step 3: Product of the Variables
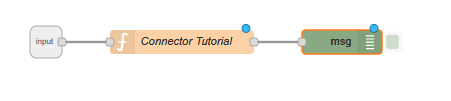
Next, implement the logic for the product of the variables within a Function Node.
Step 4: Node Integration
Connect the input node to the function node. Additionally, establish a connection to a debugger node to capture any results or errors.
Step 5: Create a Connector
To organize the workflow, select all nodes and utilize the 'Selection to Subflow' option. This action will create a connector containing the selected nodes.
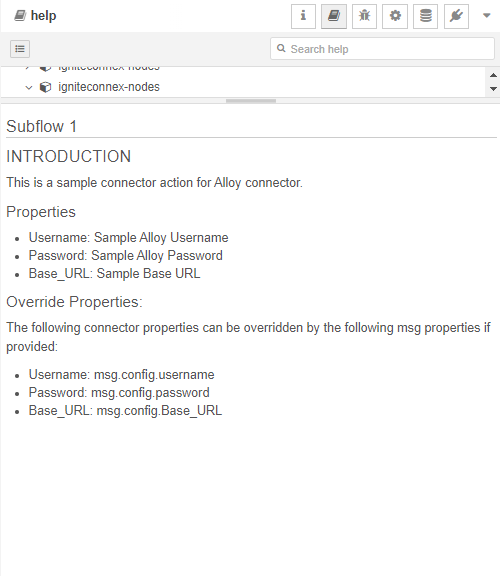
Adding Documentation to Connector
Certainly! Here are the steps to enhance your connector with documentation, broken down step by step:
Step 1: Access Connector Properties
Click on "Edit Properties" for the connector you want to document.
Step 2: Navigate to Description Tab
In the connector properties window, navigate to the "Description" tab. This is where you can add documentation to your connector.
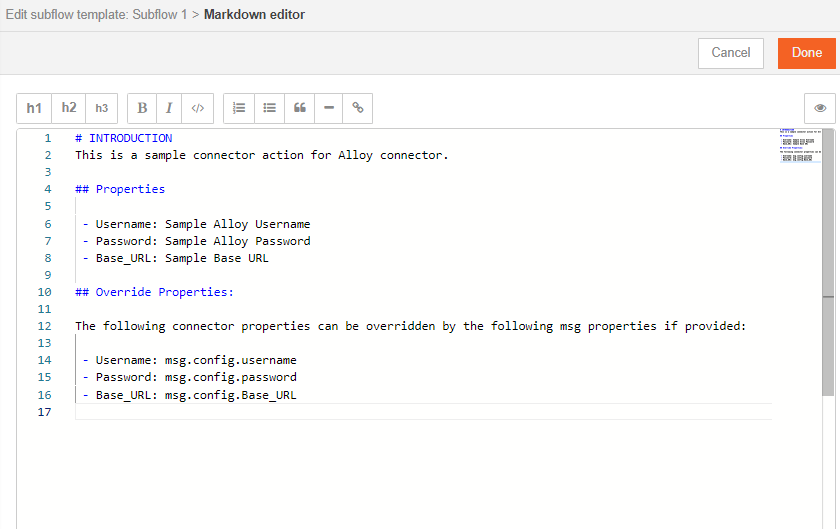
Step 3: Use Markdown Editor
Within the "Description" tab, you'll find a provided markdown editor. This editor allows you to input documentation using markdown text formatting. Markdown is a lightweight markup language for text that is easy to read and write while providing formatting options.
Step 4: Write Documentation
Utilize the markdown editor to write detailed documentation for your connector. You can include information such as the connector's purpose, usage instructions, parameters, examples, and any other relevant information to assist users in understanding and using the connector effectively.
Step 5: Save Changes
After you've written and formatted your documentation using markdown, make sure to save your changes within the editor.
Step 6: Deploy Changes
Click on the "Done" button to save your connector's properties and documentation.
Step 7: Access Documentation
Now, when you go to the subflow that uses this connector, you should be able to access your newly added documentation in the "Doc" section. Users will be able to refer to this documentation to understand how to use the connector and its functionality.
By following these steps, you'll enhance your connector with clear and informative documentation, making it easier for users to utilize your connector effectively.
Branding the Connector action
Let's change the look of this connector now. Double click on the subflow and click edit properties >> Appearance
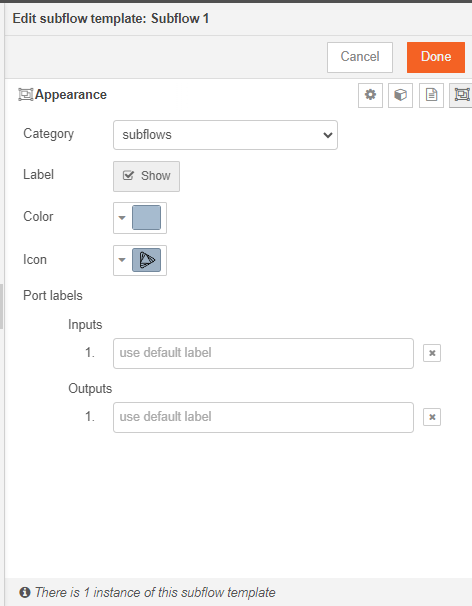
Make any required changes and deploy.
Conclusion
Congratulations. You have successfully created a connector.
Similarly you can create more connectors.
Stay tuned for more Igniteconnex Tutorials.