Azure + Azure Devops
Configure PostgreSQL
Create and configure PostgreSQL database for storing your app related information. This database will be managed by IgniteConnex App and required for App registration.
1. Setup PostgreSQL
https://portal.azure.com/#create/Microsoft.PostgreSQLServer
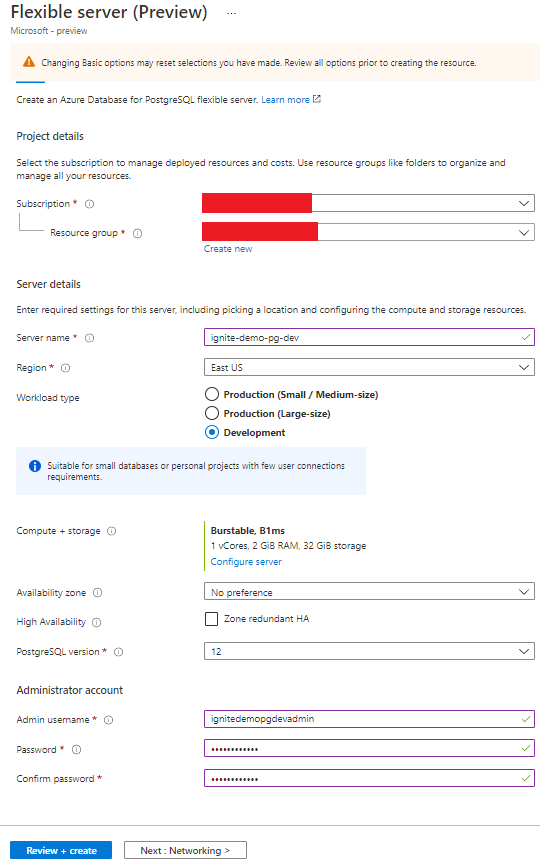
2. Review & Create
3. Database Credential
Keep your database credential handy in the following format postgres://{username}:{your_password}@{servername}.postgres.database.azure.com/postgres?sslmode=require
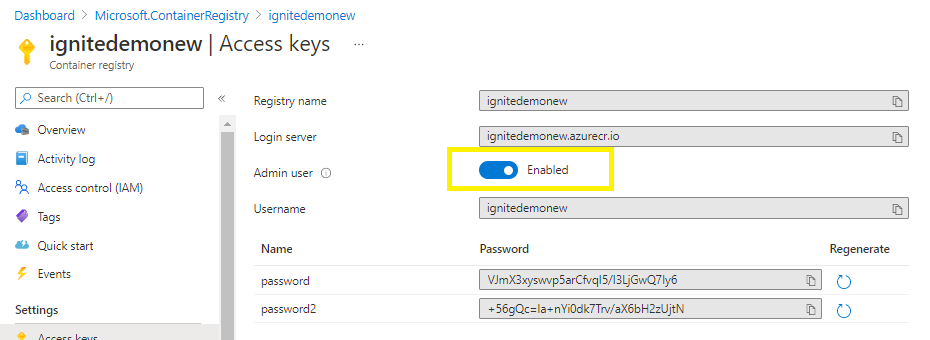
Create Container Registry
1. Create New Container Registry
https://portal.azure.com/#create/Microsoft.ContainerRegistry
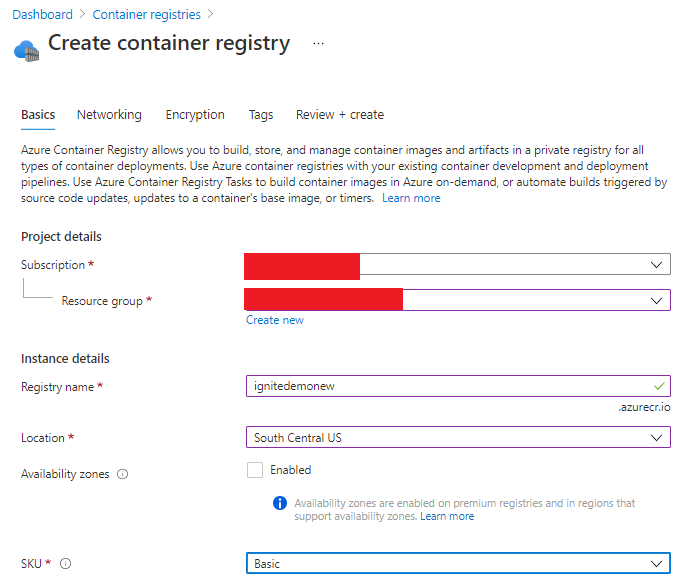
2. Review & Create
3. View
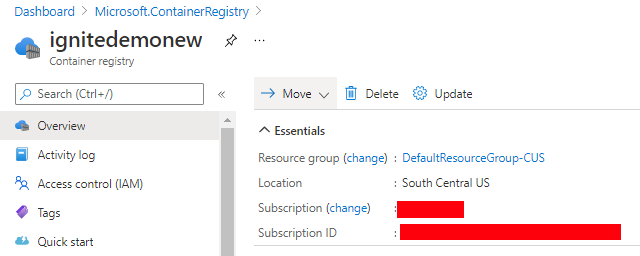
4. Enable Admin User
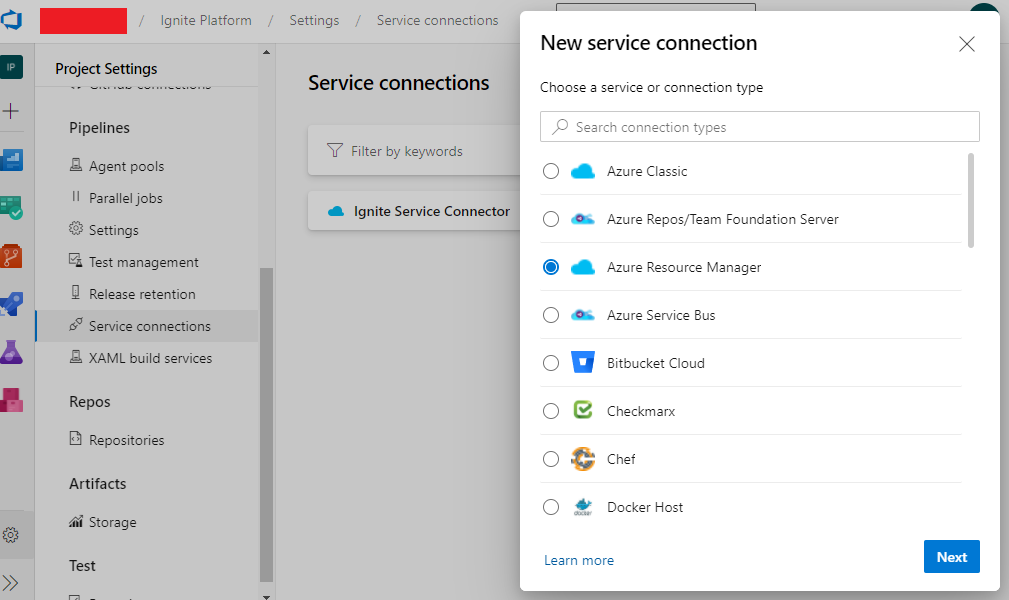
Configure Service Connection
1. New Service Connection
Select Azure Resource Manager
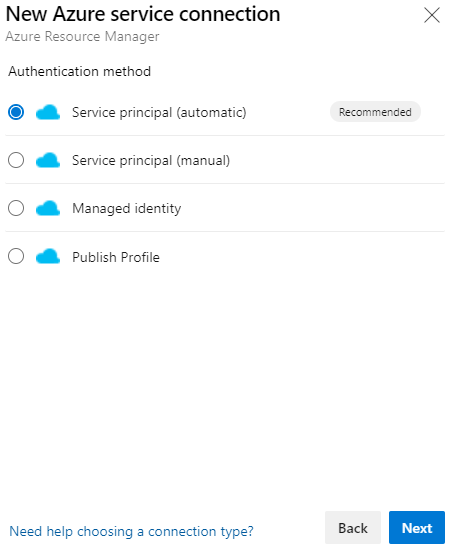
2. Select Service Principle
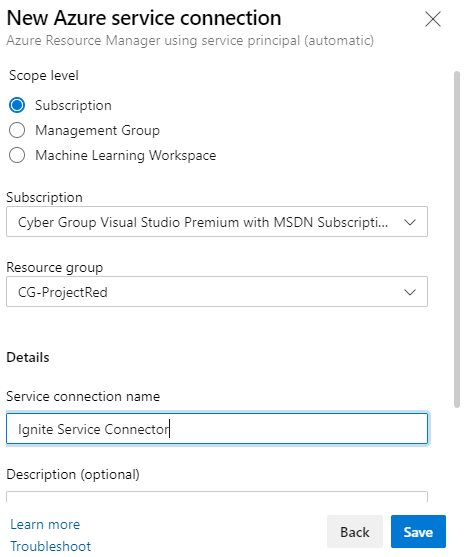
3. Select Subscription
Configure Pipelines
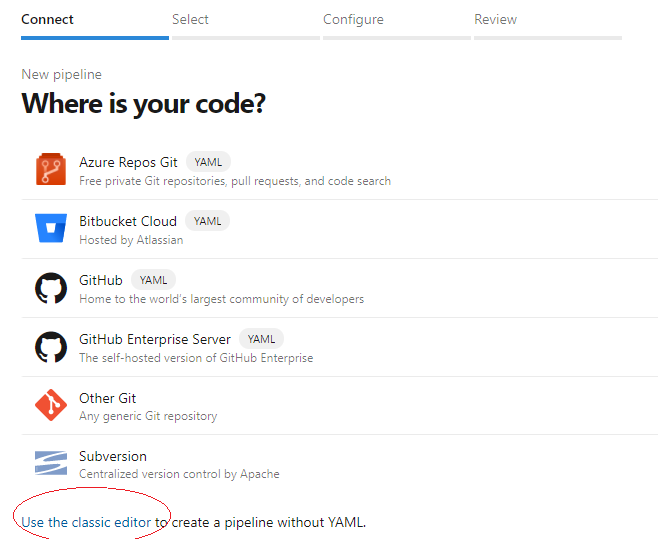
1. Create New Pipeline
Use the classic editor
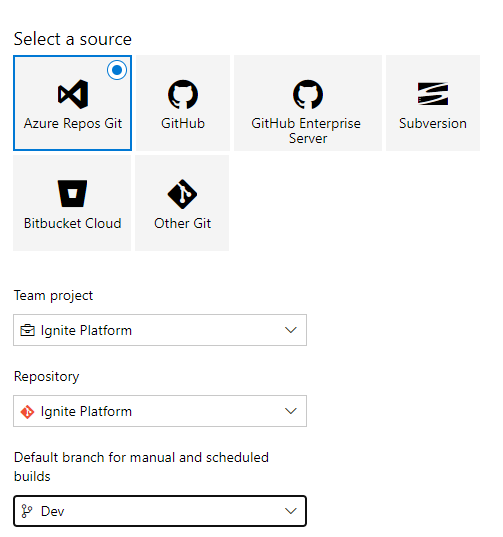
2. Select a Source
Select Repository & “Dev” Branch
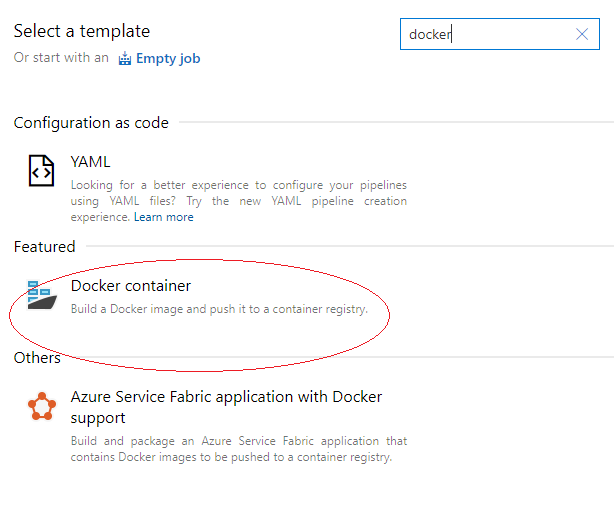
3. Select a Template
Search and Select Docker container
4. Select Agent Pool

5. Review/Change Source
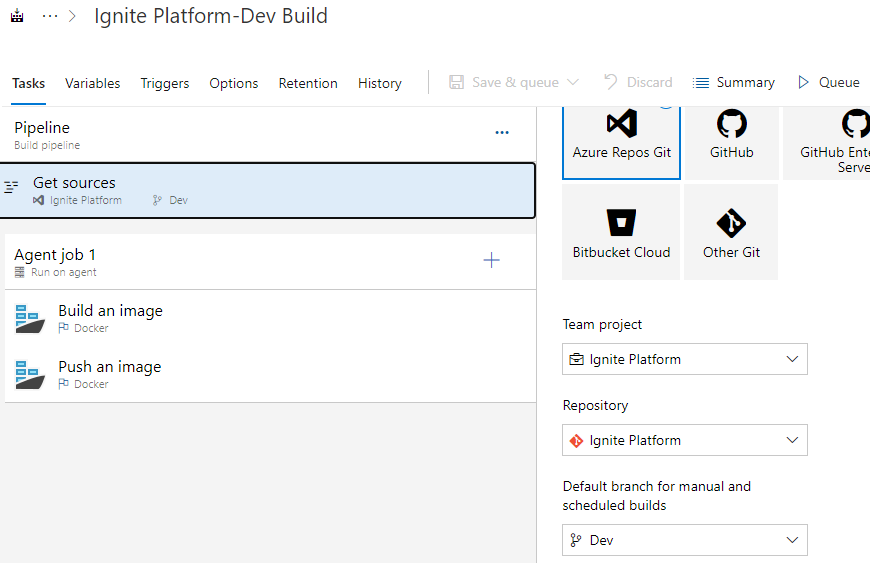
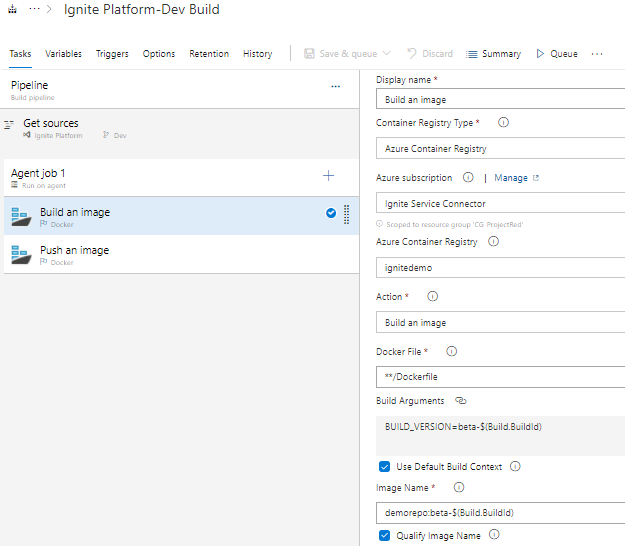
6. Build an Image
Select Subscription & Container Registry
On Build Arguments
BUILD_VERSION=beta-$(Build.BuildId) ,for Dev Branch (Dev Pipeline)
Or BUILD_VERSION=v$(Build.BuildId) ,for Main/Master Branch (QA-Prod Pipeline)
Press Info and Link the Settings
On Image Name
your-desire-image-name:beta-$(Build.BuildId) ,for Dev Branch (Dev Pipeline)
your-desire-image-name:v$(Build.BuildId) ,for Main/Master Branch (QA-Prod Pipeline)
7. Push an Image
Select Subscription & Container Registry On Image Name
your-desire-image-name:beta-$(Build.BuildId) ,for Dev Branch (Dev Pipeline)
your-desire-image-name:v$(Build.BuildId) ,for Main/Master Branch (QA-Prod Pipeline)
Custom Deployment Using Private Repository (Local Development)
Deploy using private repository (local development)
1. Create App
Visit: https://dashboard.igniteconnex.io/#/apps
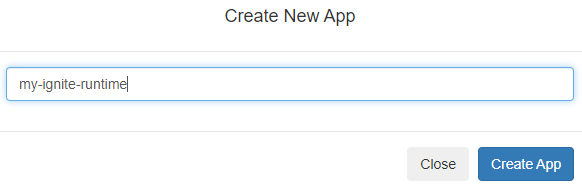
Click on button “New App”

2. Set App Name
Provide a suitable name for your application and click on button “Create App”
3. Get Ignite Keys
You will get the IGNIT_EDITOR_API_SECRET key, copy or save this key for later use in Deploy to Azure.
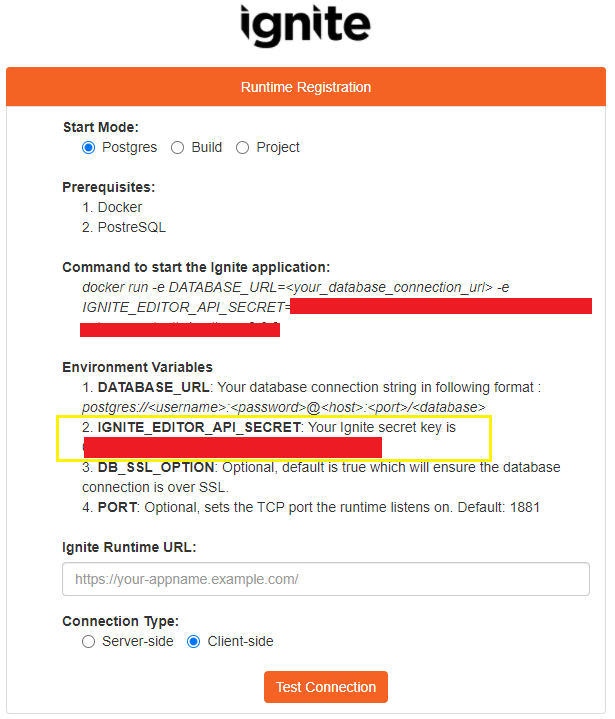
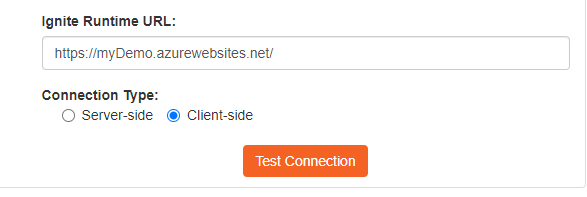
4. Set Ignite Runtime URL
We will setup this URL once we will finish the "deploy-on-azure".
5. Deploy to Azure
After the Ignite Platform team provisions your account, you may use the following "Deploy to Azure" button to get started your deployment using local development with private repository.

You may need a Microsoft Azure account, docker account with azure container registry
You will be redirected to Azure after clicking this button.
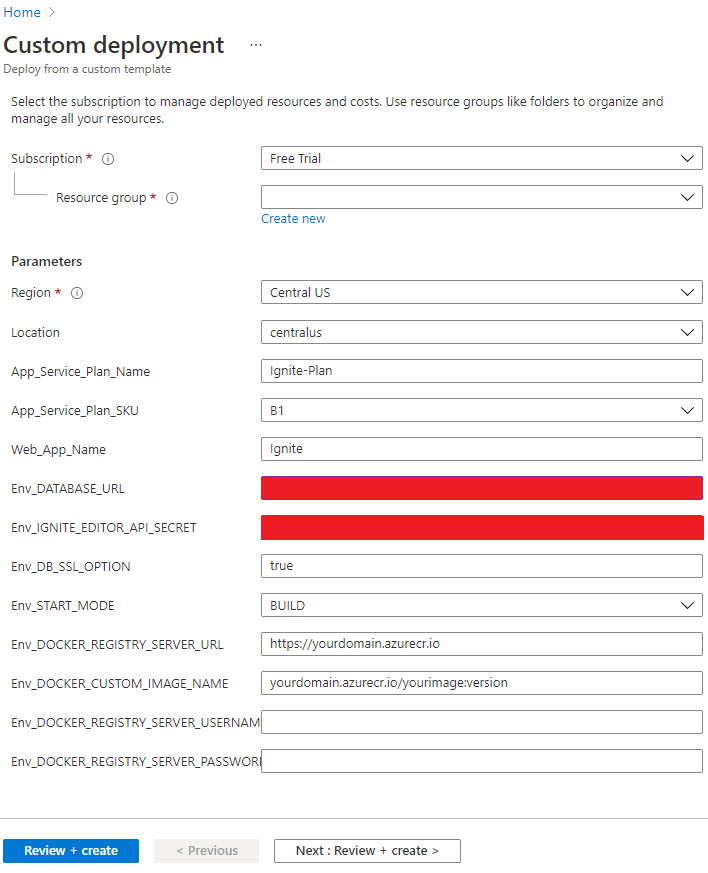
Below are required parameters details-
Subscription: Select your azure account subscription type that you want for this custom deployment. All resources in an Azure subscription are billed together.
Resource group: A resource group is a collection of resources that share the same lifecycle, permissions, and policies. You can select your existing resource group or can also create new one.
Region: Select a location for the resource group. For example, Central US. Not every resource is available in every region.
Location: Select a location for the storage account. For example, Central US.
App_Service_Plan_Name: Provide app service plan name
App_Service_Plan_SKU: Select the suitable Azure plan. For more information about Azure plan visit Azure Pricing Plans
Web_App_Name: Create a unique and suitable web application name. Your deployed application will be running with your web app name. for example, if Web_App_name is "myDemo" then application will be hosted in URL
ENV_DATABASE_URL: This URL includes protocol, user credentials, host and port. Refer to database credential
ENV_IGNITE_EDITOR_API_SECRET: This API key is found within the Ignite Dashboard when registering an app. Refer to Get Ignite Keys
ENV_DB_SSL_OPTION: If your database supports or requires SSL, it is recommended to turn this on
ENV_START_MODE: Select desired start mode (Required for git based application development)
Env_DOCKER_REGISTRY_SERVER_URL Provide docker registry server URL
Env_DOCKER_CUSTOM_IMAGE_NAME Provide docker image name URL
Env_DOCKER_REGISTRY_SERVER_USERNAME Provide docker registry server username
Env_DOCKER_REGISTRY_SERVER_PASSWORD Provide docker registry server password
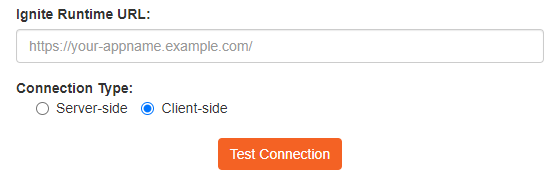
6. Finish Ignite Runtime URL
Once azure application will be deployed successfully you will get the application url like https://myDemo.azurewebsites.net/
Go back to Runtime regisration step and paste the runtime url and click on "Test Connection"
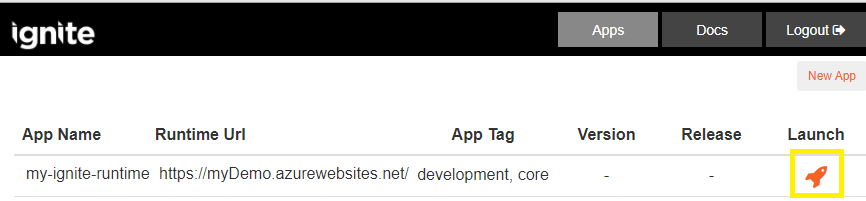
- Click Launch button on your application in the Dashboard and start execution.
Repeat above steps for others environment like Dev, QA, and Prod
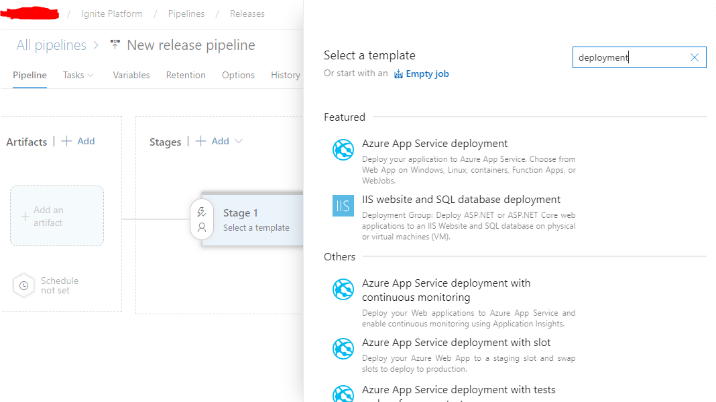
Release Pipeline
1. New Release Pipeline
Search deployment and select Azure App Service deployment
2. Enter Stage Name

3. Add Artifacts
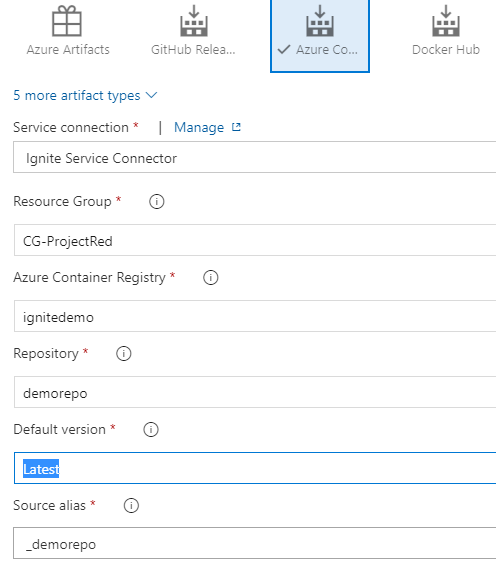
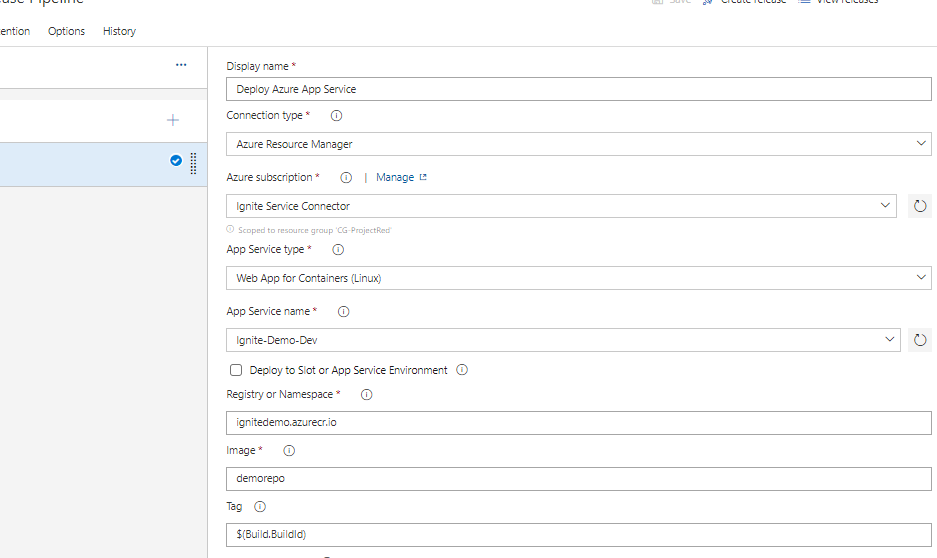
4. Modify Task
Select Stage & Deploy Azure App Service Task
Select Subscription & App Service
Registry: yourazureregistry.azurecr.io
Image: registry image
Tag: $(Build.BuildId)
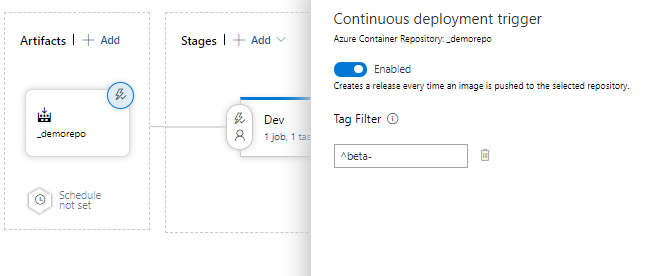
5. Enable Continuous Deployment
Enter Tag Filter: ^beta- for Dev Enter Tag Filter: ^v for QA/Prod
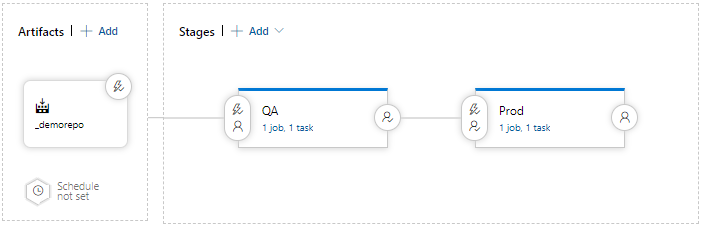
6. Sample Release Strategy
On Push to Dev Branch
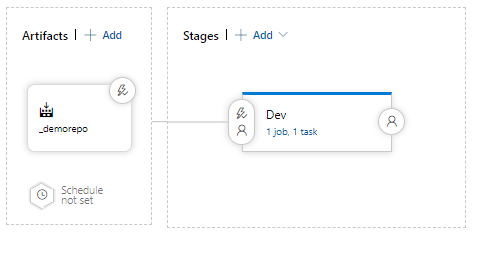
On Push to Master Branch