Single Sign On
Basic Workflow
IgniteConnex Identity supports SSO that enables a user to use a single ID and password to gain access to any of several related applications.
The basic workflow when authenticating to a service that uses SAML/OIDC from the users perspective is as follows:
- User goes to the web address of a SSO protected service (known as a service provider, or SP).
- The service asks for a cookie that the users browser may have stored, which contains a token, if it finds a valid token in the browser, it logs the user in. If this token does not exist, or is invalid, the service directs the user to the configured Identity Provider (IdP).
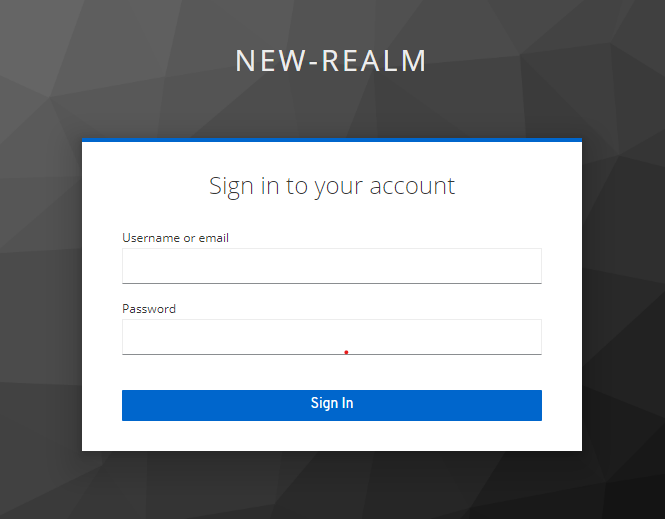
- Once the user reaches the IdP, they are presented with a login page.
- The user logins in with their provided credentials. The IdP can compare these to locally stored credentials, or against an LDAP or Kerberos backend.
- The user is given a token upon successful login which is stored as a cookie in the browser, and gets automatically redirected back to the service they were initially attempting to access. This token usually contains a username, as well as information regarding what the user has access to, if using a protocol like OIDC that supports authorization.
- The service requests the token from the browser and if the token is valid, allows the user access to the service.
Token validation is done on a secure back channel between the service and Identity Provider, without involving the browser, to increase security.
Steps for Setting IgniteConnex Identity for SSO
These are basic steps that you need to do, in order to implement sso in any service.
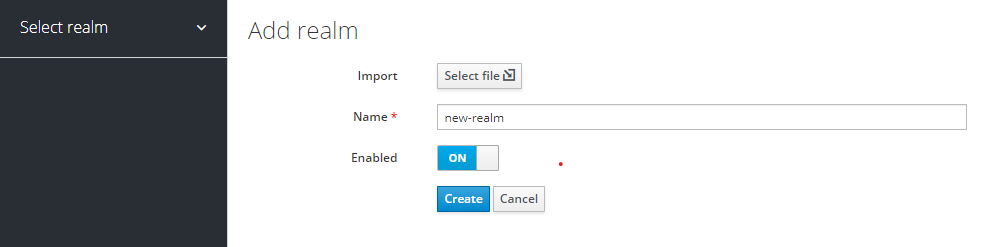
Create realm
A realm secures and manages security metadata for a set of users and applications (Clients).
You can create a new realm or use an existing realm for EBICS Client. We suggest creating a dedicated realm for all Axway applications.
Important: EBICS Client is used in combination with Electronic Signature. You must use the same realm for both products so that users benefit from SSO functionality.
- In the Keycloak Admin Console, in the top left corner (below the banner), click Add realm and enter a name. For example, Axway. Do not use spaces or special characters in the definition of the realm name. However, you can use the hyphen character (-) as a separator. Example: my-realm-name.
- Endpoints must be set to "OpenID Endpoint Configuration" (EBICS Client supports only OIDC).
- On the Login tab, set Require SSL to "all requests" (EBICS Client requires TLS/SSL connections).
- Click Save. The newly-created realm has the standard parameters set. You can customize them according to your installation requirements.
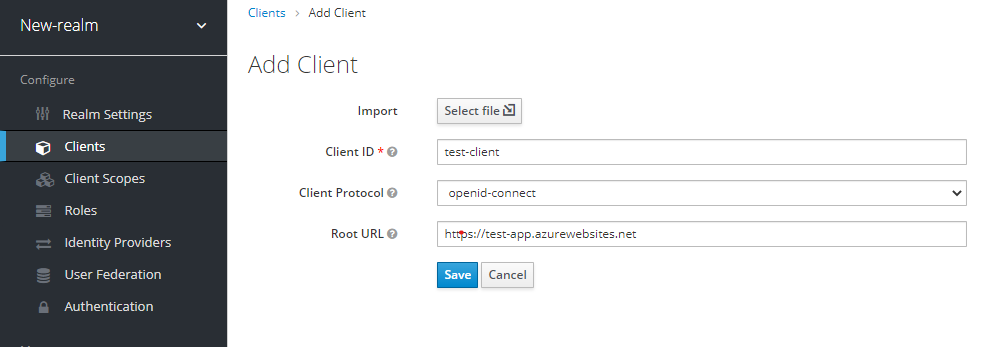
Create client
A Client represents an instance of an application. A client is attached to a specific realm.
Proceed as follows to create a client to represent your installed EBICS Client:
- At the top left corner, select the "Axway" realm.
- In the left panel, under Configure, click Clients, and then click Create.
- Enter "ebics-client" as Client ID.
- In Client Protocol, select "openid-connect".
- Set Root URL to https://hostname:port (the URL you use to log in to EBICS Client, where port is the one defined for the Edge service in the EBICS Client Configuration tool, default 443).
- Click Save. You can now configure various parameters for the new client.
- On the Settings tab, check that:
- Enabled is ON
- Client Protocol is set to openid-connect
- Access Type is set to confidential
- Standard Flow Enabled is ON
- Direct Access Grants Enabled is ON
- Valid Redirect URIs is set to https://hostname:port/* (the URL you use to log in to EBICS Client)

- Click Save.
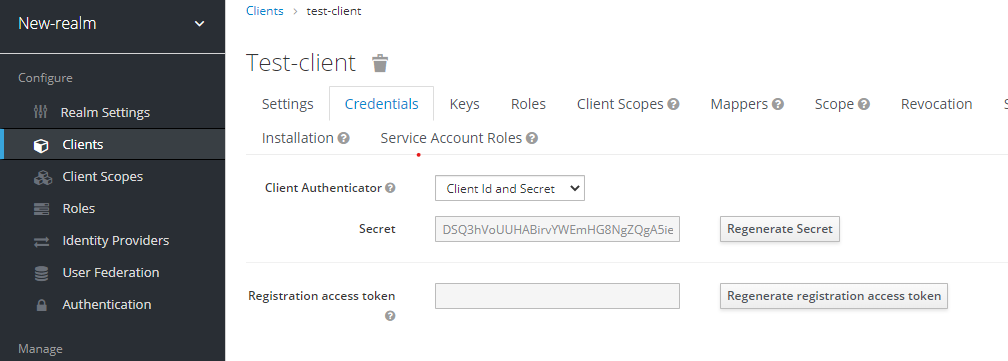
- On the Credentials tab, set Client Authenticator to "Client Id and Secret"
Create Client roles and user
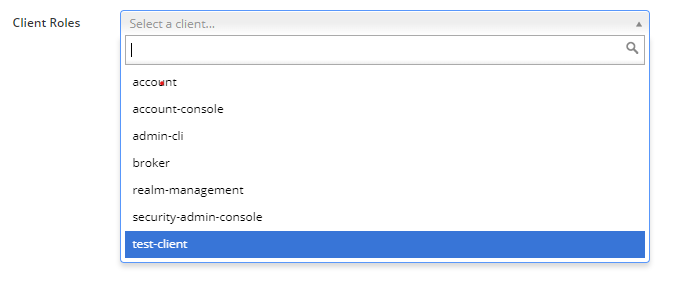
- Create Roles inside the dedicated client.
- Create Dedicated User for the client.
- Assign the Username to the new user.
- Create a new Password for the user.
- Assign dedicated roles to the users.
Below is the url that is needed for logging into the client.
${base_url}/auth/realms/${realm_name}/protocol/openid-connect/auth?client_id=${client_name}&response_type=code&scope=${encodeURIComponent(scopes)}&redirect_uri=${encodeURIComponent(valid_redirect_uri)}&state=${generate-random state}
Open the login page for the client
On the main client section, check for the base URL and open the url in the new tab.
Conclusion
User will be redirected to the right landing page.